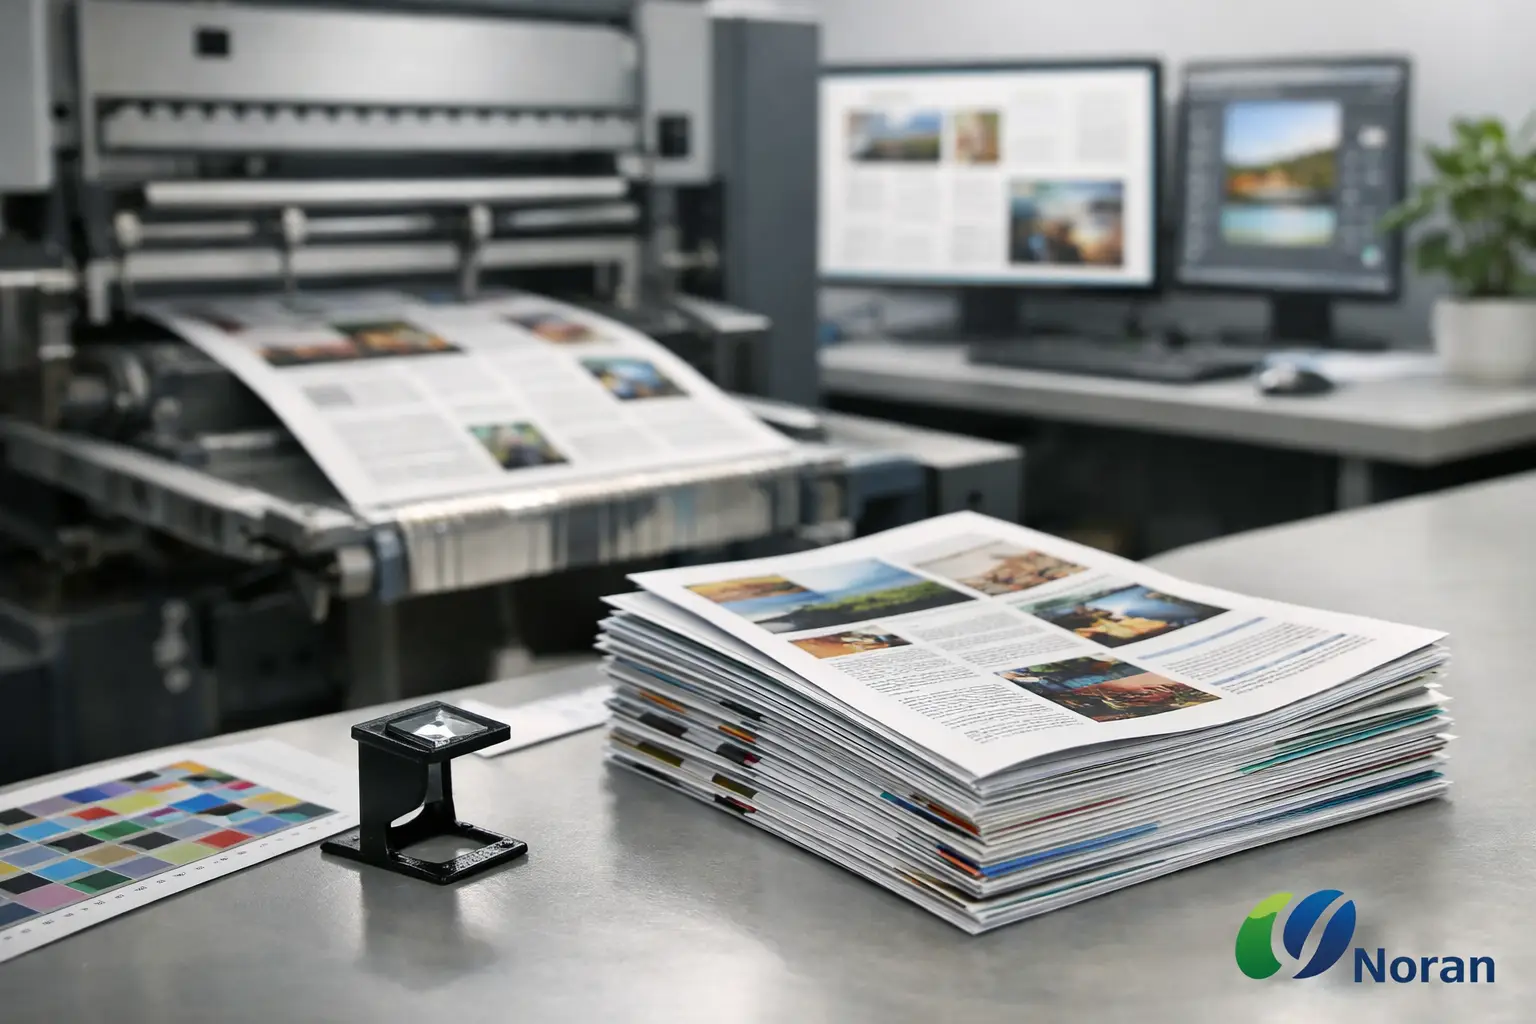
A newsletter is often one of the few printed pieces people will actually keep. A customer may read it at the counter, a donor may take it home, or a school family may pin it to the fridge. That makes print quality more than a finishing detail. This guide to newsletter printing will help you make practical decisions about size, paper, color, quantities, and file setup so every issue looks credible and is easy to read.
Start With the Job the Newsletter Needs to Do
Before choosing paper stock or a folding style, decide what the newsletter is meant to accomplish. A monthly update for a local business has different needs than a quarterly association publication, a church bulletin, or a fundraising newsletter. Frequency, audience, distribution method, and budget should guide the production plan.
For example, a newsletter that is mailed to customers needs room for mailing information and should be light enough to keep postage costs reasonable. A publication handed out at an event can use a heavier stock or a more substantial booklet format. If the issue contains time-sensitive promotions, a shorter run on a fast digital press may be more useful than ordering a large quantity that becomes outdated.
Consistency matters when newsletters are recurring. Using the same finished size, paper family, logo placement, and color approach from issue to issue builds recognition and makes future ordering easier. You can still vary the content and feature photography without making the publication feel disconnected from your organization.
Choose a Newsletter Format That Fits the Content
The right format depends on how much information you need to communicate and how readers will use it. A one-page flyer may be enough for a brief announcement, but it is not always a newsletter. When you have multiple stories, photos, upcoming dates, and sponsor messages, a folded piece or booklet generally gives the content room to breathe.
Folded newsletters
An 8.5-by-11-inch sheet folded in half creates a four-page, 5.5-by-8.5-inch newsletter. This is a practical, familiar format for short updates, event calendars, and community notices. It is compact, economical, and easy to hand out or mail.
A larger 11-by-17-inch sheet folded in half creates an 8.5-by-11-inch finished piece. This format works well when larger photos, detailed articles, or advertising space are priorities. It has more visual impact, though it uses more paper and may cost more to mail.
Booklet newsletters
For longer stories and regular editorial content, consider a saddle-stitched booklet. Saddle stitching uses staples through the folded spine and is well suited to newsletters with page counts in multiples of four. It creates a clean finished piece that readers can browse comfortably.
Booklets are a strong choice for annual reports, school newsletters, membership publications, and organizations with several departments or programs to feature. Keep in mind that very thick booklets may need a different binding method, and page counts affect both setup and cost.
Single-sheet or self-mailer formats
A double-sided sheet can be effective when the message is concise. It is often a good fit for a monthly promotion, a real estate update, or a simple nonprofit communication. If it will travel through the mail without an envelope, plan the design around postal requirements and leave appropriate space for the address panel, postage, and return information.
Paper Is Part of the Message
Paper changes how a newsletter feels in the reader’s hands and how images and text reproduce. The best choice is not always the heaviest or glossiest option. It depends on the content, budget, and purpose.
Uncoated paper has a natural, easy-to-write-on surface. It is a good option for newsletters with forms, sign-up areas, notes, or coupons that recipients may need to complete. It also gives text-heavy publications a calm, readable appearance.
Gloss or satin-coated paper makes photographs and color graphics appear more vibrant. A satin finish offers a middle ground: it has more polish than uncoated stock without the high shine that can create glare under bright light. For a newsletter with staff photos, product images, or event coverage, satin stock is often a dependable choice.
Paper weight should be balanced across the publication. A heavier cover can give a booklet a more finished feel while lighter inside pages help manage cost and mailing weight. For a folded newsletter, using one stock throughout is usually straightforward and efficient. If you are unsure, ask to see physical paper samples. Paper is easier to choose when you can compare texture, thickness, and print appearance in person.
Use Color With Purpose
Full-color printing can make a newsletter more engaging, particularly when photos, charts, branded graphics, or products are central to the message. However, color should support the reader, not compete for attention.
Reserve your strongest colors for items that deserve notice: headlines, calls to action, key dates, section labels, and images. Long paragraphs in reverse type, such as white text on a dark background, can be difficult to read in print, especially for older audiences. Black body text on a light background remains the clearest choice for most newsletters.
If budget is tight, consider a black-and-white newsletter or a one-color approach rather than reducing the quality of the writing and layout. A well-designed black-and-white publication can look professional. Another option is to print a color cover or color outer pages with black-and-white inside pages, depending on the format and press capabilities.
Brand color consistency is especially important for recurring issues. Colors that look bright on a screen do not always print the same way. Screens use RGB light, while commercial printing is typically produced with CMYK inks or toner. Supplying your brand color values and reviewing a proof helps reduce surprises.
Build the File for Print, Not Just for the Screen
Many newsletter problems begin in file preparation. A document can look perfect in an email attachment and still produce unwanted white edges, blurry photos, or shifted panels when printed.
Set the document to the final finished size from the beginning. If any background colors or images extend to the edge of the page, add bleed. Bleed is extra image area beyond the trim edge that is cut away after printing. Without it, minor cutting variation can leave a thin white border.
Keep important text, logos, and page numbers safely inside the trim area. This safe margin is particularly important on folded pieces, where content too close to the fold can look crowded or become hard to read. Avoid placing small text across folds or directly over busy photographs.
Use high-resolution images. Photos pulled from websites or social media are often too small for print, even if they appear acceptable on a phone. As a general rule, images should be 300 dpi at their printed size. Enlarging a low-resolution photo does not add detail; it only makes pixelation more visible.
Export a print-ready PDF with fonts embedded and images included. If your newsletter includes a fold, specify the fold style and panel measurements before finalizing the layout. Some folds require panels that are slightly different widths so the piece closes properly.
Proof Every Issue With Fresh Eyes
A proof is not only for catching spelling errors. It is the final opportunity to confirm phone numbers, dates, pricing, sponsor logos, mailing information, page order, image quality, and color treatment. These details are costly to change once the job is on press.
Assign at least one person who did not write the newsletter to review it. A fresh reader is more likely to notice a missing date, a repeated paragraph, or a headline that does not match the article below it. For organizations with approvals, establish who has final sign-off before the file reaches production.
If color accuracy is critical, such as when reproducing a logo or campaign graphics, discuss proofing expectations with your printer before production. A digital proof is useful for checking layout and content, while a printed sample can provide a more realistic view of paper and color.
Plan Quantity, Timing, and Distribution Together
Newsletter printing works best when quantity and delivery plans are decided at the same time. Order enough copies for your active mailing list, reception area, events, partners, and a reasonable reserve. Ordering too few can leave people out. Ordering too many can waste budget and storage space, particularly for dated content.
Lead time also matters. Allow time for writing, design, internal approval, proofing, printing, folding or binding, and delivery. For recurring newsletters, set a production calendar that works backward from the date recipients need to receive it. This gives your team time to solve a last-minute change without compromising the finished piece.
For organizations serving Kamloops and surrounding communities, a local print partner can be especially helpful when you need to review paper samples, adjust a file, coordinate a recurring order, or handle related materials such as envelopes, posters, event signage, and promotional pieces. Noran Printing can help bring those moving parts together under one roof.
A newsletter earns attention when it is clear, useful, and professionally produced. Give the content a logical format, choose materials that match how it will be used, and leave time for a careful proof. Readers may not know the technical choices behind the piece, but they will recognize a publication that feels considered and dependable.